It is possible to send an email to the entrant when their entry has been completed successfully. It is also possible to include other individuals on the same email. In this article, we will show you how. This feature will send one email per entry (so, multiple emails will send if there are multiple entries being finalized in a Cart).
STEP 1: Click Manage next to the active program you wish to set up the Confirmation Email for
On the left menu, navigate to DASHBOARD - this is the page you will see when you first log in
In the Orange Competitions box, click on the competition name to expand it
Click the Manage link to the right of the row
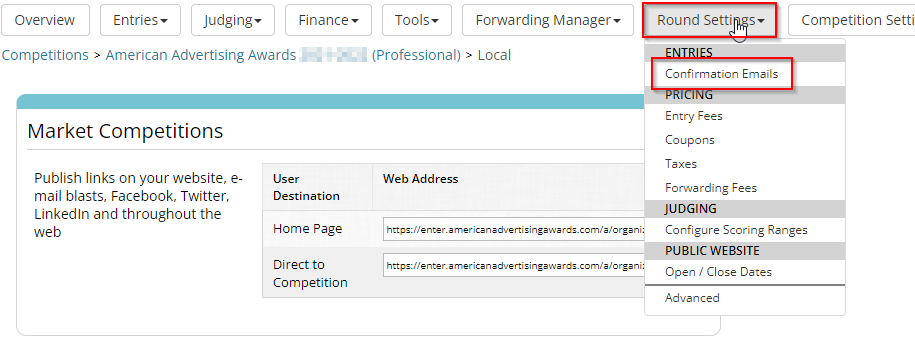
STEP 2: Go to the Round Settings >> Confirmation Emails area
Click Round Settings
Select Confirmation Emails
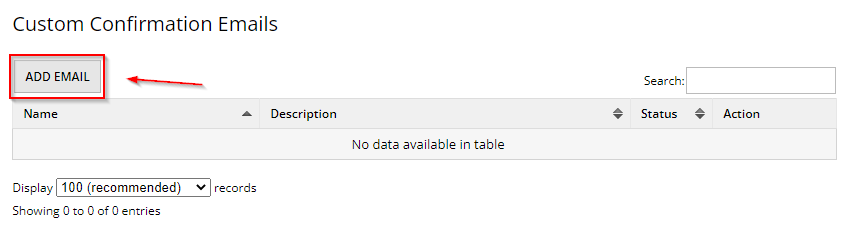
STEP 3: Add your confirmation email
If you already have a confirmation email set up, it will show here - you can click Select to the right of the existing email's name to edit as necessary. If nothing shows in this view, you will need to set it up from scratch.
Click ADD EMAIL button - this will load a new screen.
STEP 4: Customize the email content
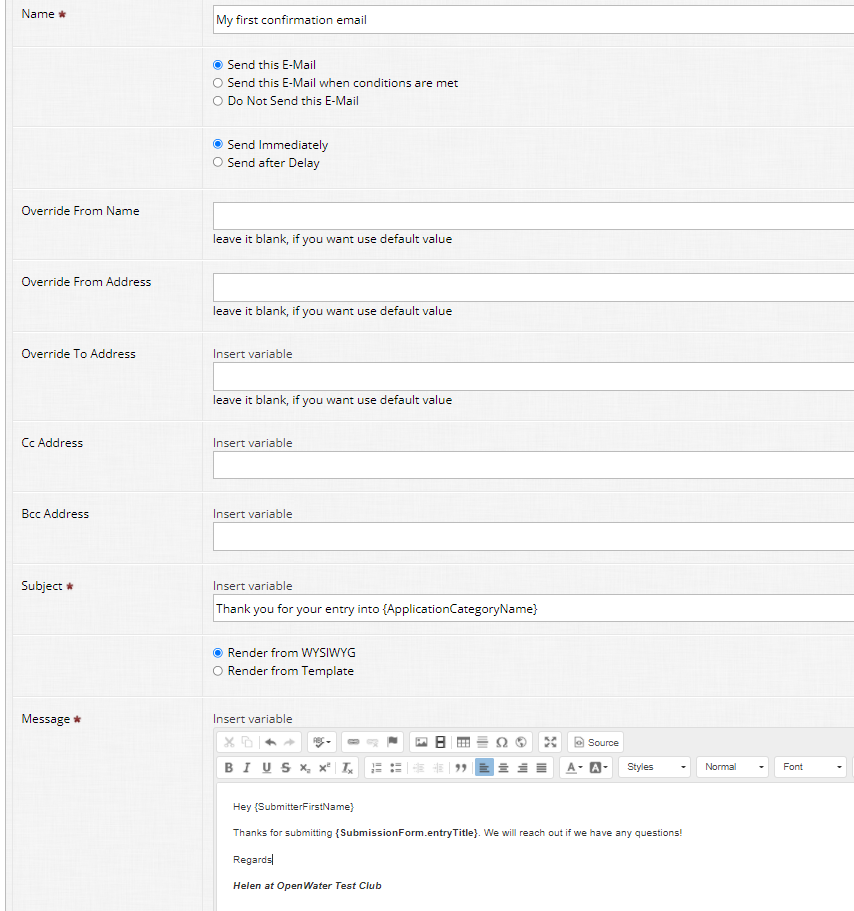
The following configuration screen has many options, but most can be left blank.
THE REQUIRED FIELDS ARE:
Name: An internal descriptive name to help you recognize the purpose of this email later, should you wish to come back and edit it.
Radio fields: This set of options is essentially the on/off switch for this email. As this is an automatic email, once it is created and enabled, it will automatically send as soon as the system detects that an entry has been finalized. If you wish to have the automatic sending enabled, select "Send this E-Mail". If you have, for example, an old email you do not wish to use anymore, but you are not ready to delete it, you can switch it to "Do Not Send this E-Mail" to disable it. You can also use the middle option, "Send this E-Mail when conditions are met" if you wish to craft a more complex sending process. An example of using this feature would be to have different Confirmation Emails depending on the category of entry. If you are interested in using more complex confirmation emails, reach out to our team for more guidance on this.
You also need to select whether you want the automatic sending to happen immediately when the entry is finalized, or if you wish to delay the sending by a set time period. We recommend "Send Immediately".
There is a third radio field near the bottom of the screen with "Render" options - leave this as "Render from WYSIWYG".
Subject: This is the subject line of your email. This would be something like "Thank you for your entry". Above this field is a blue "Insert Variable" link, which will bring up a list of information you can add to this subject line to personalize the message. For example, "Thank you for your entry: {ApplicationId}" would generate the entry code into the subject line upon sending.
Message: This is where the content of your email goes. Again, use Insert Variable to personalize the message. A good idea is to use the Entrant First Name in the opening line of the email, so it will generate, for example, as "Hey Helen" and add useful personalization. You might wish to add any relevant dates for next steps in the competition here, or perhaps give a quick recap on the entry that was just submitted, using the variables. It is also perfectly acceptable just to keep it brief with a simple "We have received your entry successfully" message and your sign-off name/message.
THE OPTIONAL FIELDS ARE:
Override From Nameand Override From Address: This is the information that will be displayed in the "From" area in the recipient's inbox. By default (if left blank) it will use the information provided in the SYSTEM SETTINGS >> Club Information area (under Reply-To Name and Reply-To Address). You may fill in this field if you wish to use something specific to this email, such as the details of the person handling questions about entries.
Override To Address: By default (if left blank), the email will be sent to the individual who submitted the entry, using the email address provided when they created their OpenWater account. This field is usually only used for specific situations/workarounds. We recommend leaving this blank.
Cc Address and Bcc Address: These are fields for copying in additional recipients (Cc copies them in, and Bcc is a blind copy so the original recipient does not see this). If you wish to include additional credits/contacts from the entry as recipients, click into one of these two boxes, and then click the Insert Variable link. This will bring up a list of all the eligible email fields you can use in here. If you wish to copy one specific person on all emails, such as yourself or a general inbox for monitoring submissions, type the email address in here. Note that doing so will send a copy of every email to this email address.
Click the SAVE button at the bottom to save your email. If you selected "Send this E-Mail" from the radio fields, your email will be switched on and ready to start automatically sending.